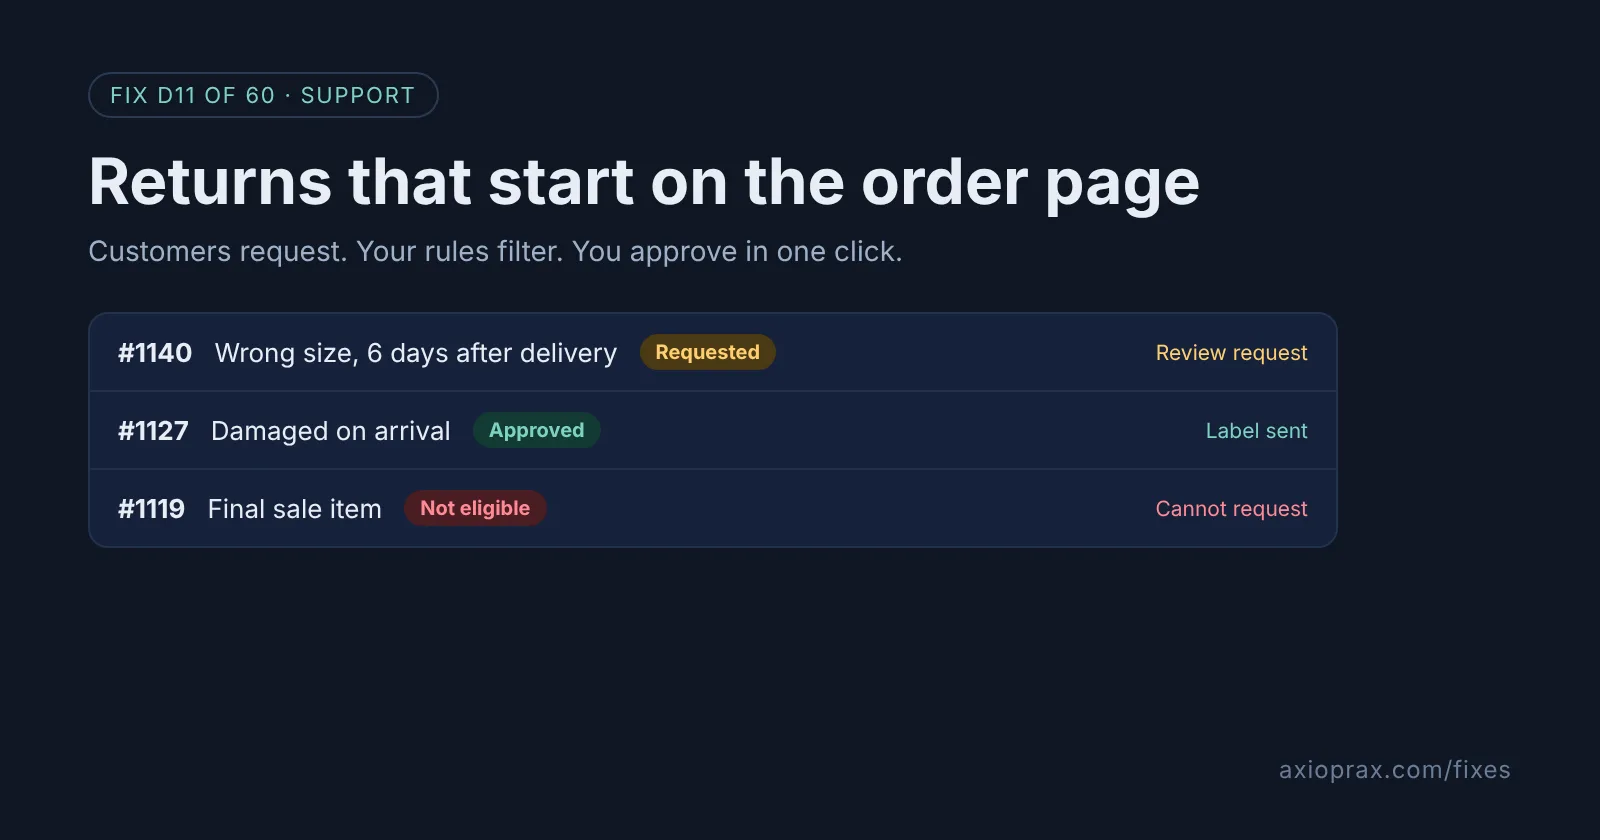
Why let customers start the return themselves?
A return by email usually takes three or four messages: which order, which item, why, and where to send it. Each reply waits in a queue. Meanwhile the customer is unsure whether you have even seen it.
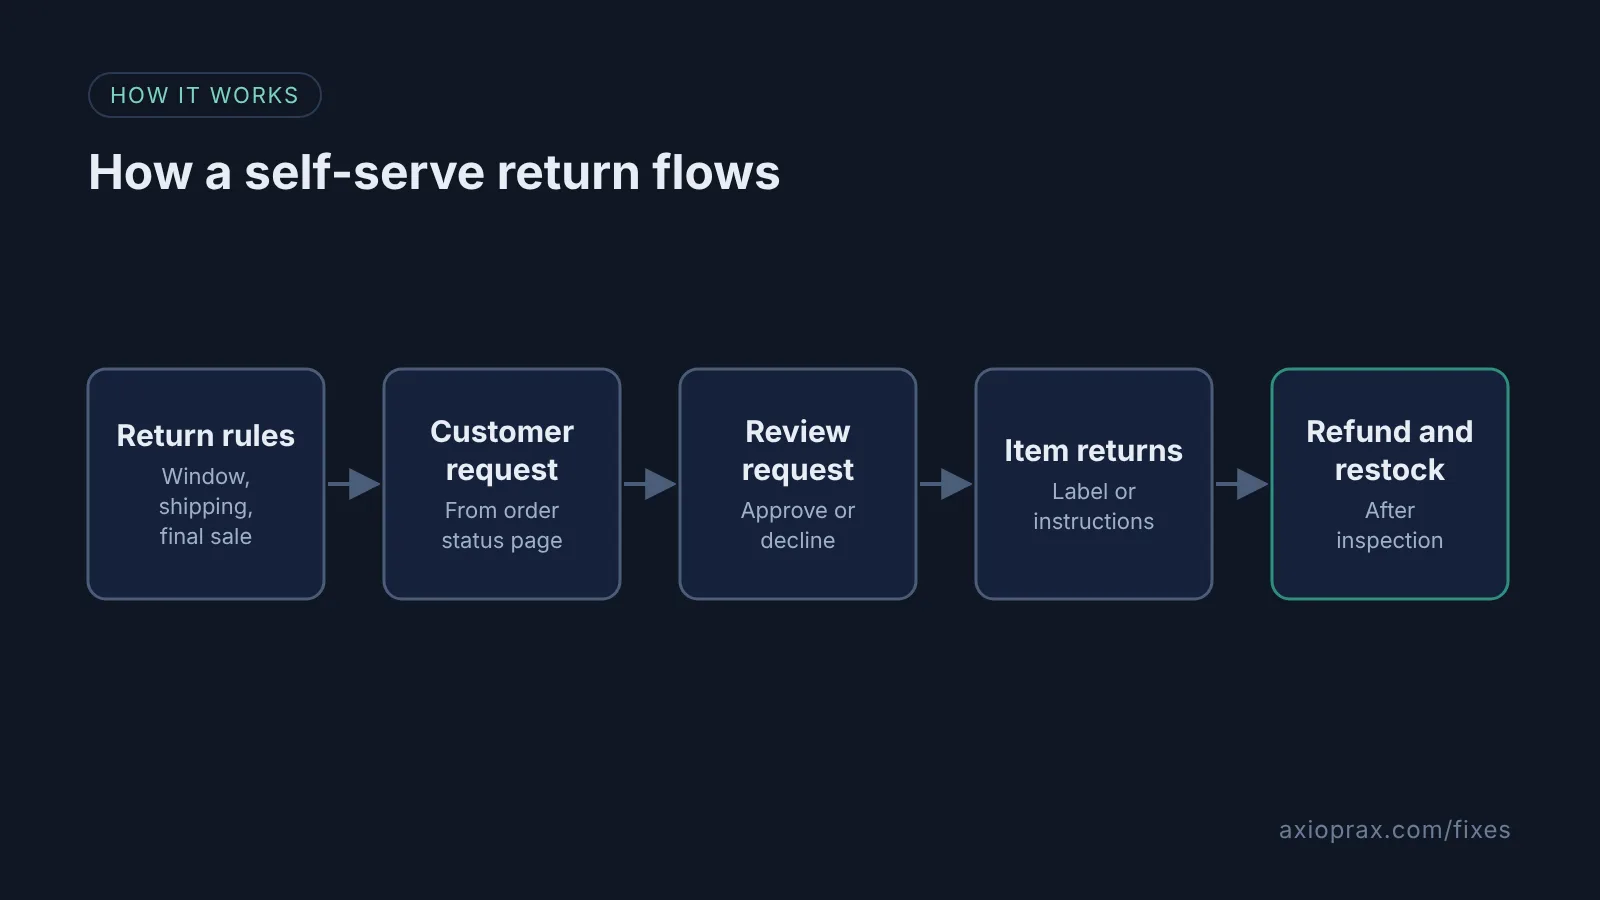
Shopify's self-serve returns move that first step to the customer. From their order status page they pick the items and send a request, Shopify checks it against the rules you set, and you get a notification. The request lands on the order itself, so you decide with all the details in front of you, and the customer gets an email either way.
How do I know I need this?
- Your support inbox has more return emails than product questions.
- Customers ask for returns after your window has closed, or on items you never take back.
- You cannot quickly answer "how many returns are waiting right now?"
Before you switch it on, decide your rules. Writing the policy first is what makes self-serve work, because Shopify uses those rules to decide which items a customer can even request.
How do I fix it? (step by step)
Work through it with your Shopify admin open, and tick each step as you go.
0 of 6 done
Set your return rules.
From your Shopify admin, go to Settings > Policies and open your rule in the Return and cancellation rules section. Choose the return window, the return shipping option and any restocking fee, then save.
Mark final sale items.
In the same rule, add final sale items by choosing Collections or Products under Applies to. Customers cannot return or cancel these items.
Check customer accounts.
Self-serve returns do not work with legacy customer accounts. In Settings > Customer accounts, make sure your store uses the newer customer accounts.
Turn on self-serve returns.
In Settings > Customer accounts, if you see Order actions, click Manage and turn on Return. If not, turn on Self-serve returns and cancellations and choose the request type.
Edit the customer emails.
Go to Settings > Notifications > Returns and read Return request confirmation, Return request approved and Return request declined, so they sound like your store.
Review requests from one filter.
In Orders, use the Customer request filter. Open an order, click Review request, choose a return shipping option and click Approve, or click Decline and pick a reason.
What should I test before I trust it?
Place a test order, fulfil it, then sign in as that customer and request a return. Check the confirmation email arrives, the order shows under the Customer request filter, and the Return requested card appears. Approve it once with a label and once with No shipping required, so you know what each email looks like. Then try to return a final sale item and confirm the customer cannot.
When is this not the right fix?
If you sell mostly custom or made-to-order items that you never take back, a clear policy page matters more than a request button. If you already use a returns app with its own portal, keep one system, or customers will find two ways in. And remember the gaps: returns only work on fulfilled items, return fees are not taken off refunds for you, and rule changes only affect new orders.
What does it cost?
Self-serve returns and return rules are built into the Shopify admin. Labels you create or upload cost whatever your carrier charges, and you choose whether the customer pays through the return shipping setting.
Want this set up for you?
We set up your rules, the customer emails and a daily review routine for free as part of the Founding 10, where we fix one Shopify problem for ten stores. For a wider look at your support load, start with the Store Ops Audit.